
Launching and Configuring a WordPress Instance with Amazon Lightsail and Route 53
Step 2: Create a WordPress instance in Lightsail
Complete the following steps to get your WordPress instance up and running on Lightsail.
- Sign in to the Lightsail console.
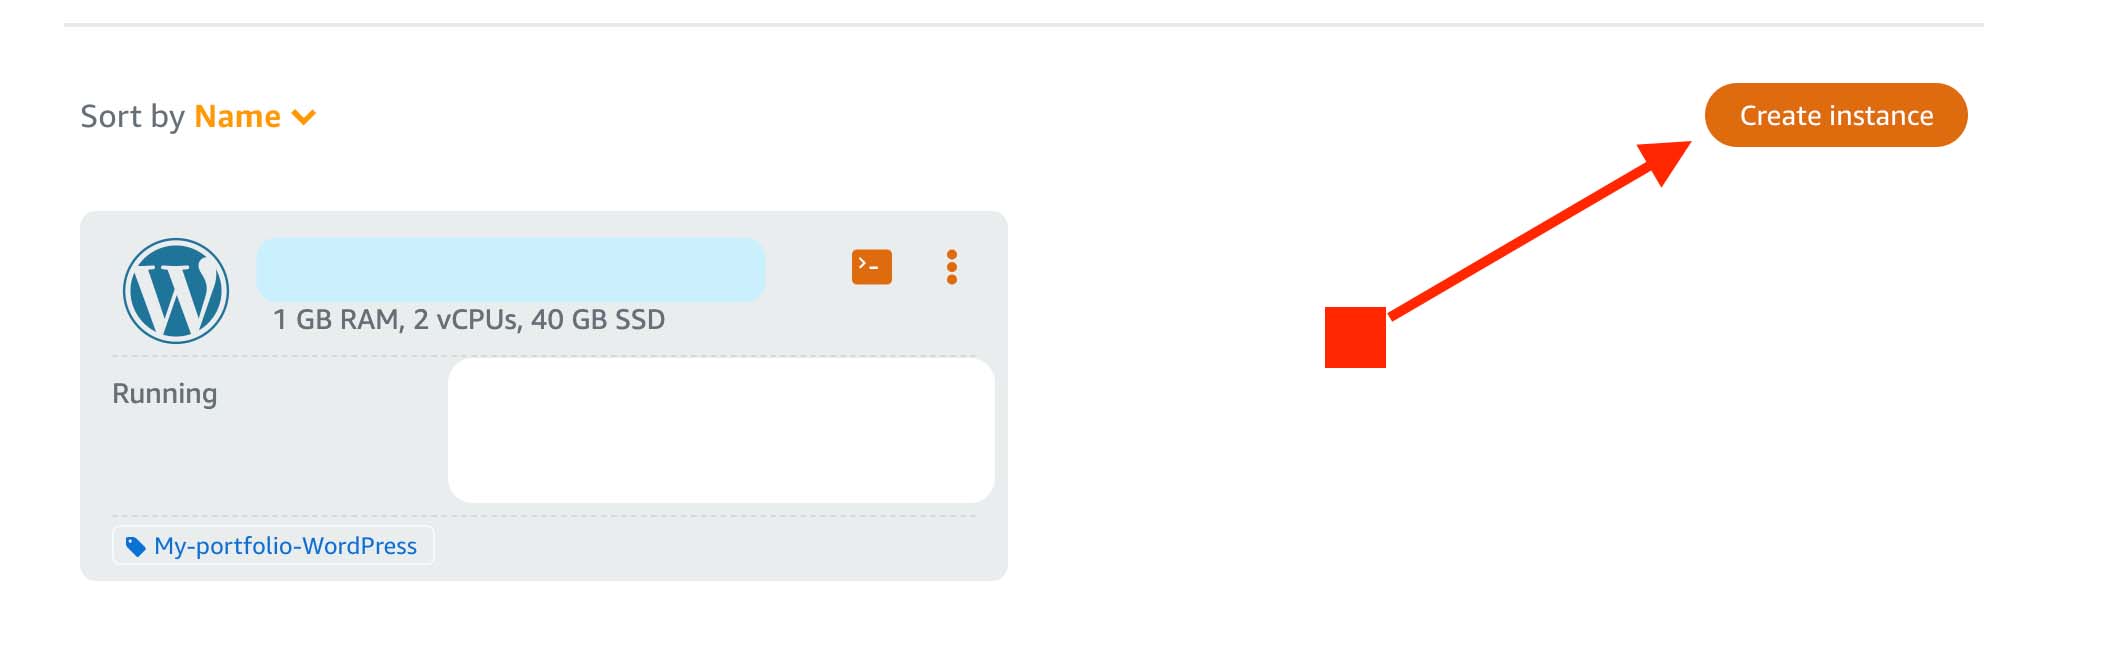
- On the Instances tab of the Lightsail home page, choose Create instance.

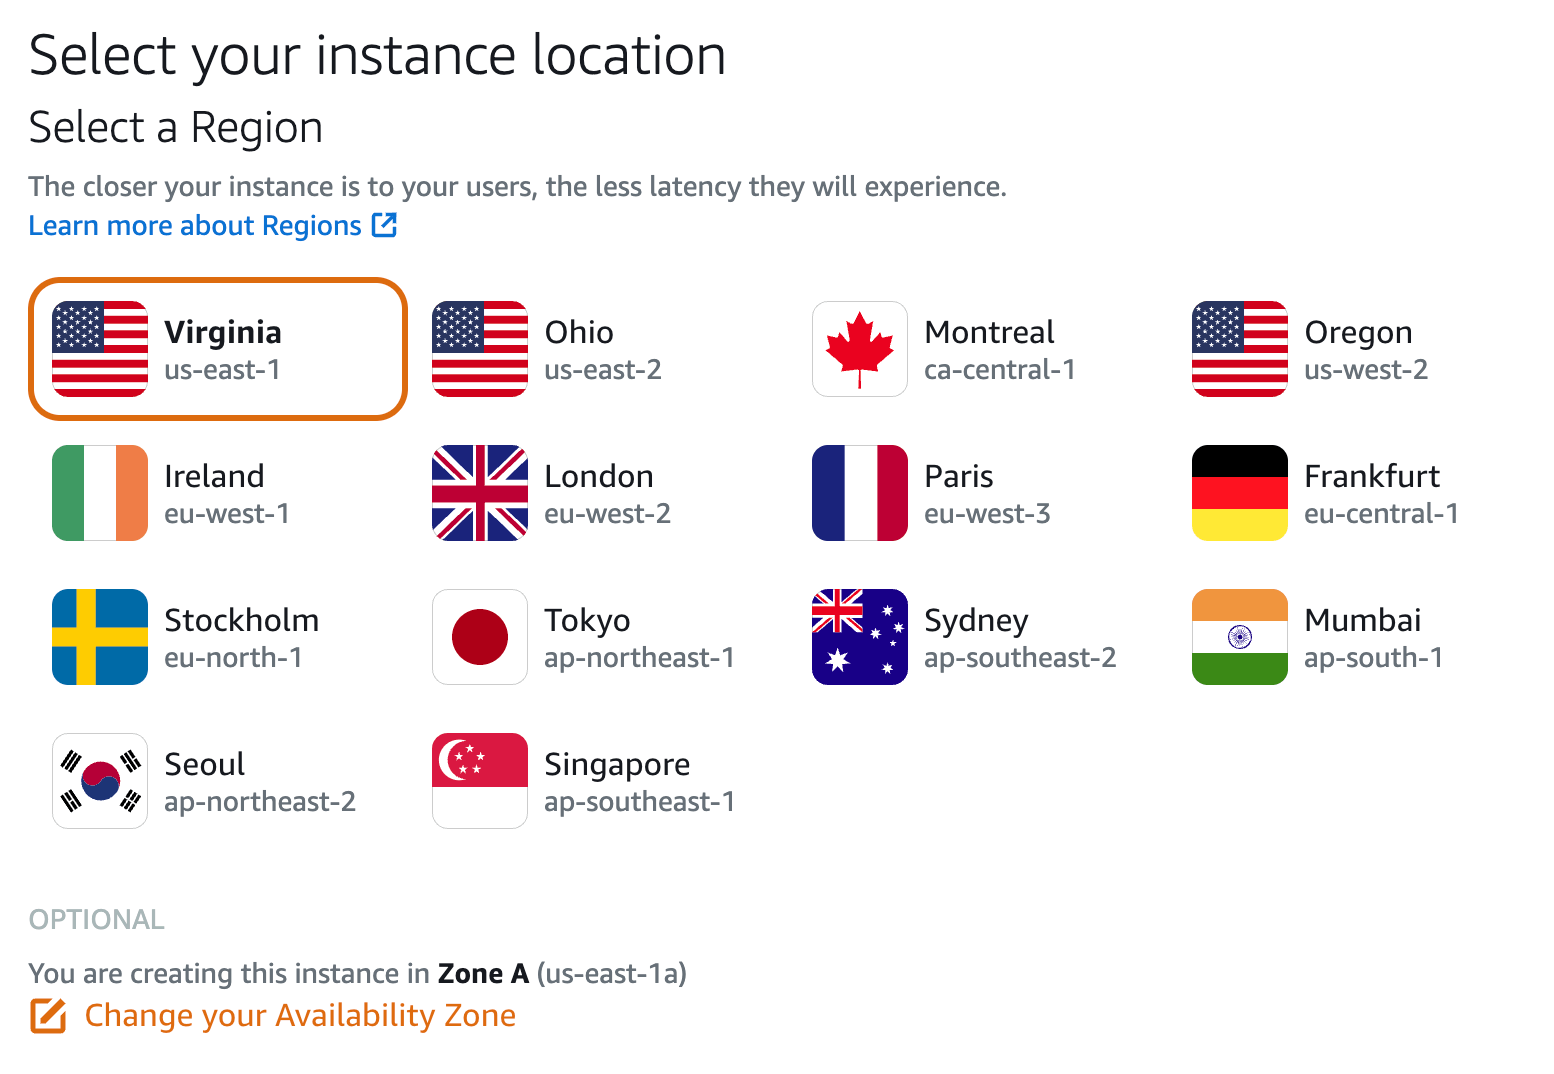
- Choose the AWS Region and Availability Zone for your instance.
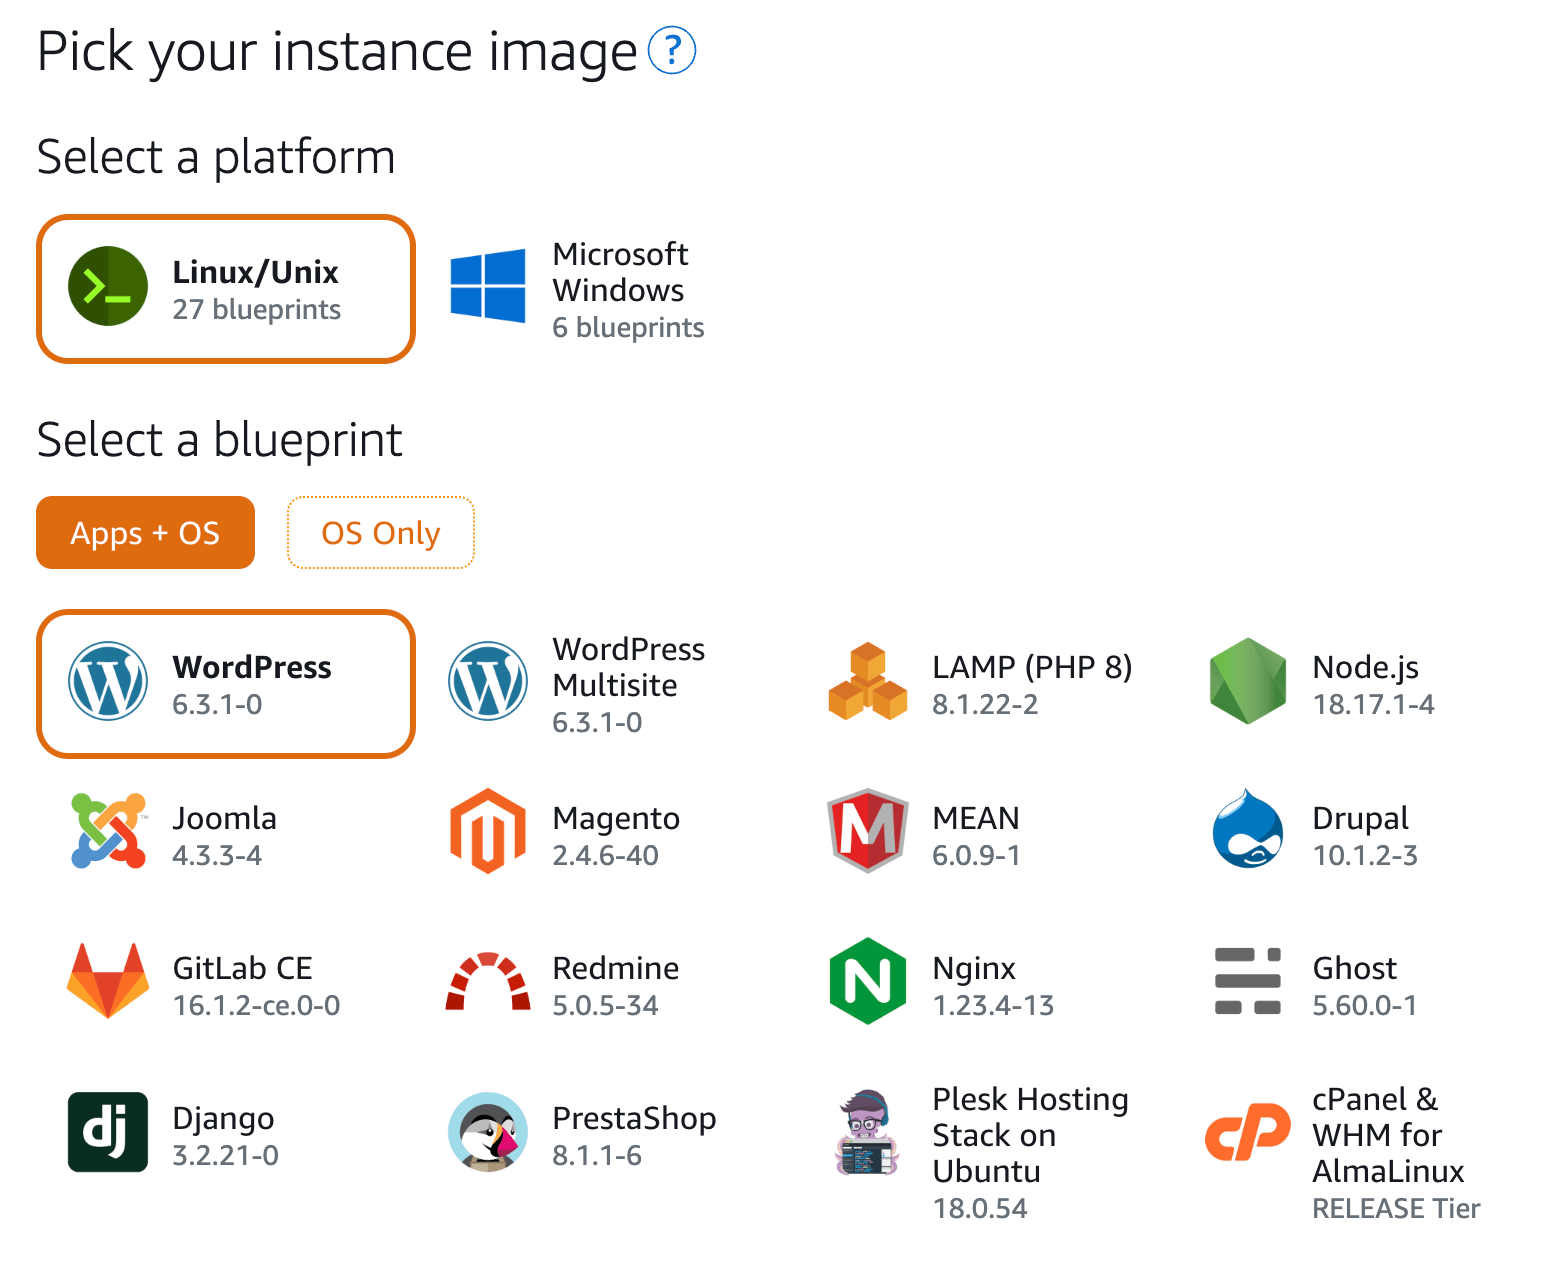
- Choose your instance image.
- Choose Linux/Unix as the platform.
- Choose WordPress as the blueprint.
5. Choose an instance plan.
A plan includes a low, predictable cost, machine configuration (RAM, SSD, vCPU), and data transfer allowance. You can try the $3.50 USD Lightsail plan without charge for one month (up to 750 hours). AWS credits one free month to your account.
Note
For a limited time, Lightsail is extending its free trial to include three months free on select instance plans. The offer applies to new or existing AWS accounts who started using Lightsail on or after July 8, 2021. Offer only applies to one bundle per account. Standard charges apply after the first 750 hours of usage of the selected bundle each month.
You can use the following instance plans free for three months:
Linux/Unix instance plans: $3.50 USD per month, $5 USD per month, and $10 USD per month
Windows instance plans: $8 USD per month, $12 USD per month, and $20 USD per month
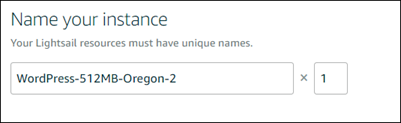
6. Enter a name for your instance.
Resource names:
Must be unique within each AWS Region in your Lightsail account.
Must contain 2 to 255 characters.
Must start and end with an alphanumeric character or number.
Can include alphanumeric characters, numbers, periods, dashes, and underscores.
7. Choose Create instance.
Step 3: Connect to your instance via SSH and get the password for your WordPress website
The default password to sign in to the administration dashboard of your WordPress website is stored on the instance.
Complete the following steps to connect to your instance using the browser-based SSH client in the Lightsail console, and get the password for the administration dashboard.
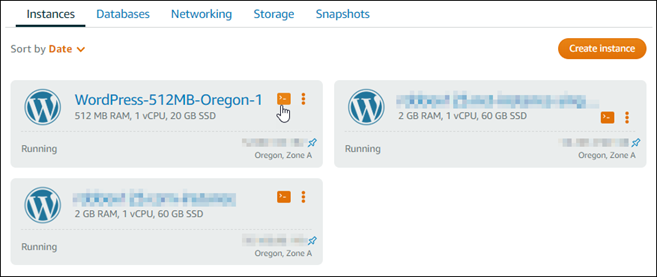
- On the Instances tab of the Lightsail home page, choose the SSH quick-connect icon for your WordPress instance.
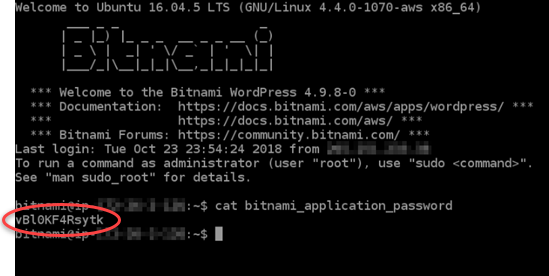
2. After the browser-based SSH client window opens, enter the following command to retrieve the default application password:
cat $HOME/bitnami_application_password3. Make note of the password displayed on the screen. You use it later to sign in to the administration dashboard of your WordPress website.
Step 4: Sign in to the administration dashboard of your WordPress website
Now that you have the password for the administration dashboard of your WordPress website, you can sign in. In the administration dashboard, you can change your user password, install plugins, change the theme of your website, and more.
Complete the following steps to sign in to the administration dashboard of your WordPress website.
Note
For more information, see Getting the application user name and password for your Bitnami instance in Amazon Lightsail.
1. In a browser window, go to:
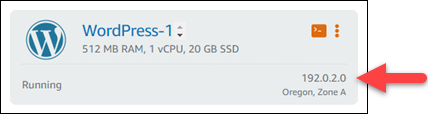
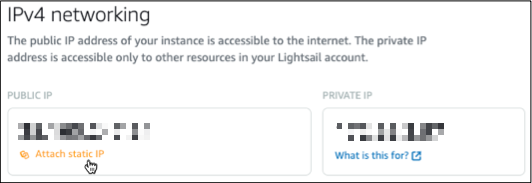
http://PublicIpAddress/wp-login.phpIn the address, replace PublicIpAddress with the public IP address of your WordPress instance. You can get your instance’s public IP address from the Lightsail console, as shown in the following example:
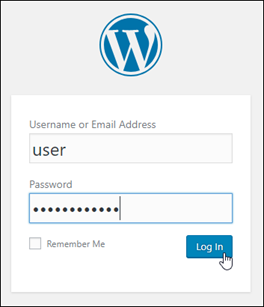
2. In the Username or Email Address box, enter user.
3. In the Password box, enter the default password obtained earlier in this tutorial.
4. Choose Log in.
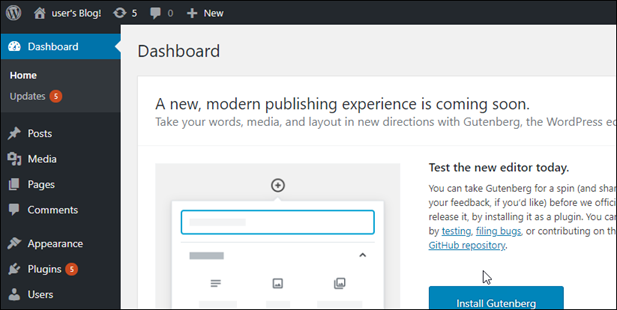
You are now signed in to the administration dashboard of your WordPress website, where you can perform administrative actions. For more information about administering your WordPress website, see the WordPress Codex in the WordPress documentation.
Step 5: Create a Lightsail static IP address and attach it to your WordPress instance
The default public IP for your WordPress instance changes if you stop and start your instance. A static IP address, attached to an instance, stays the same even if you stop and start your instance.
Complete the following steps to create a static IP address and attach it to your WordPress instance.
Note
For more information, see Create a static IP and attach it to an instance in Amazon Lightsail.
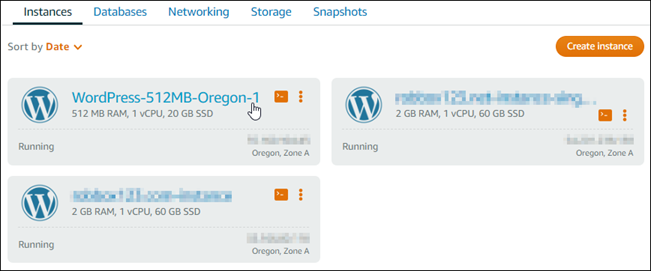
- On the Instances tab of the Lightsail home page, choose your running WordPress instance.
2. Choose the Networking tab, then choose Create static IP.
3. The static IP location and attached instance are pre-selected based on the instance that you chose earlier in this tutorial.
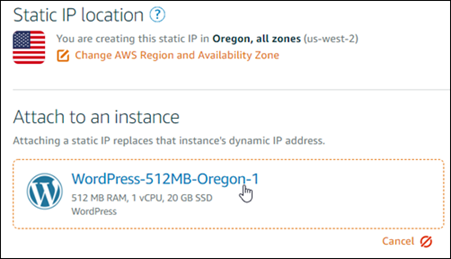
4. Name your static IP, then choose Create.

Step 6: Purchase a Domain with Route53, Create a Lightsail DNS Zone, and Map a Domain to Your WordPress Instance
When you want to give your website a professional and memorable web address (e.g., www.yourwebsite.com), you must purchase a domain name. Amazon Route 53 is a reliable and scalable domain registration service offered by AWS. In this step, we’ll guide you through buying a domain with Route 53 and then setting up a DNS (Domain Name System) zone in Lightsail to associate your domain with your WordPress instance.
A. Purchase a Domain with Route 53:
1. Sign in to your AWS Management Console. If you’re not already signed in, you can log in with your AWS account credentials.
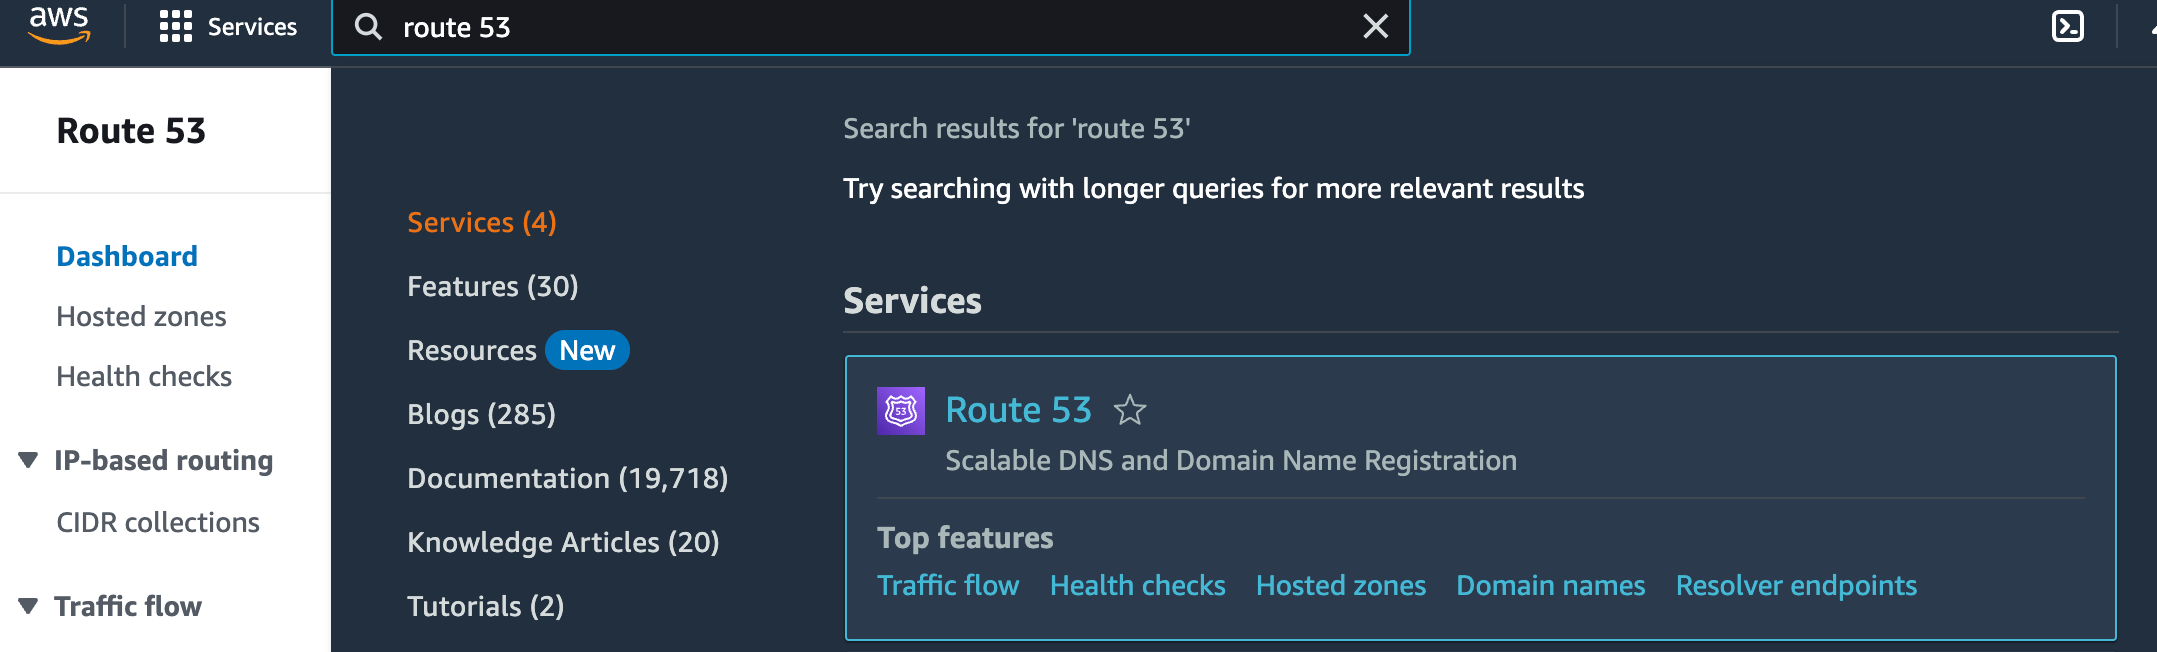
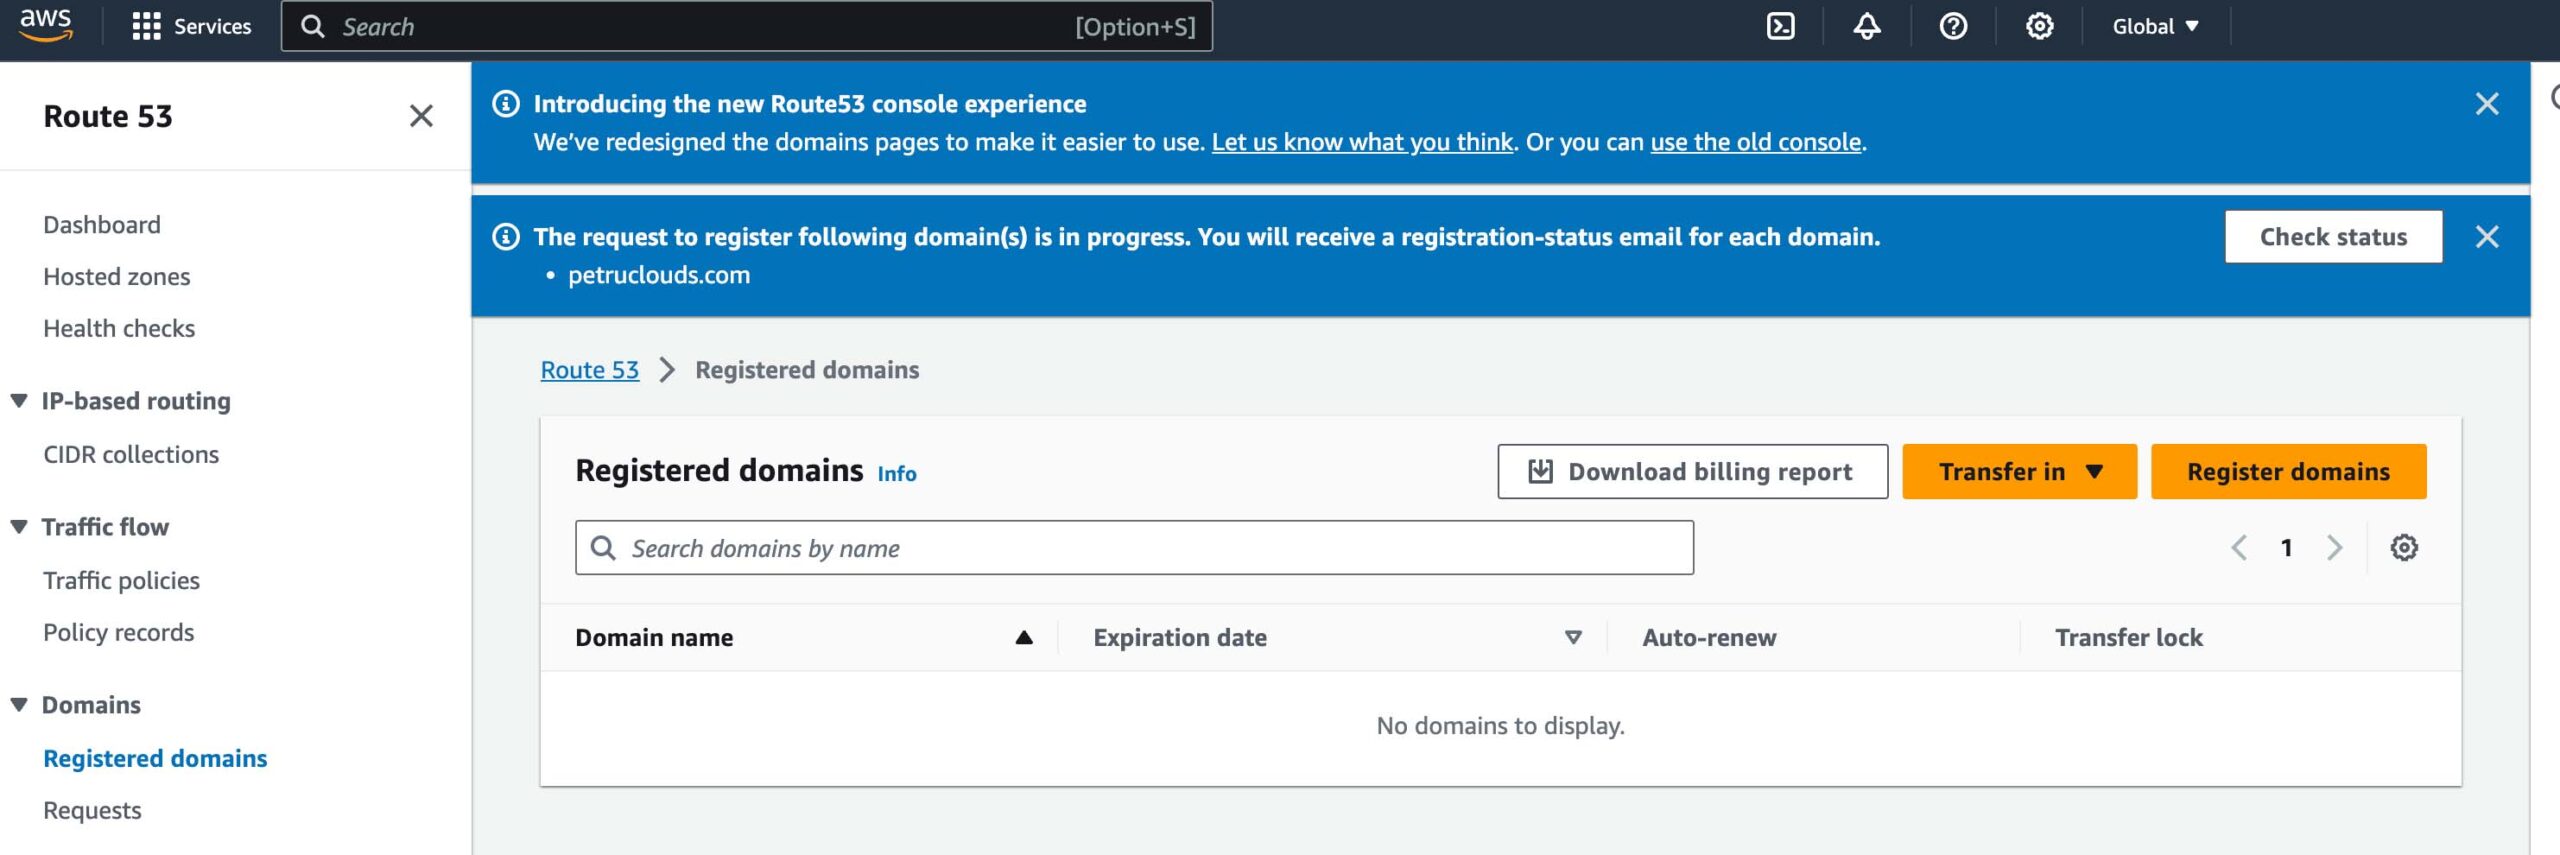
2. Navigate to Route 53: From the AWS Management Console, find and click on the “Route 53” service.
4. Register a New Domain: Inside Route 53, you’ll have the option to “Register Domain.” Click on this option.
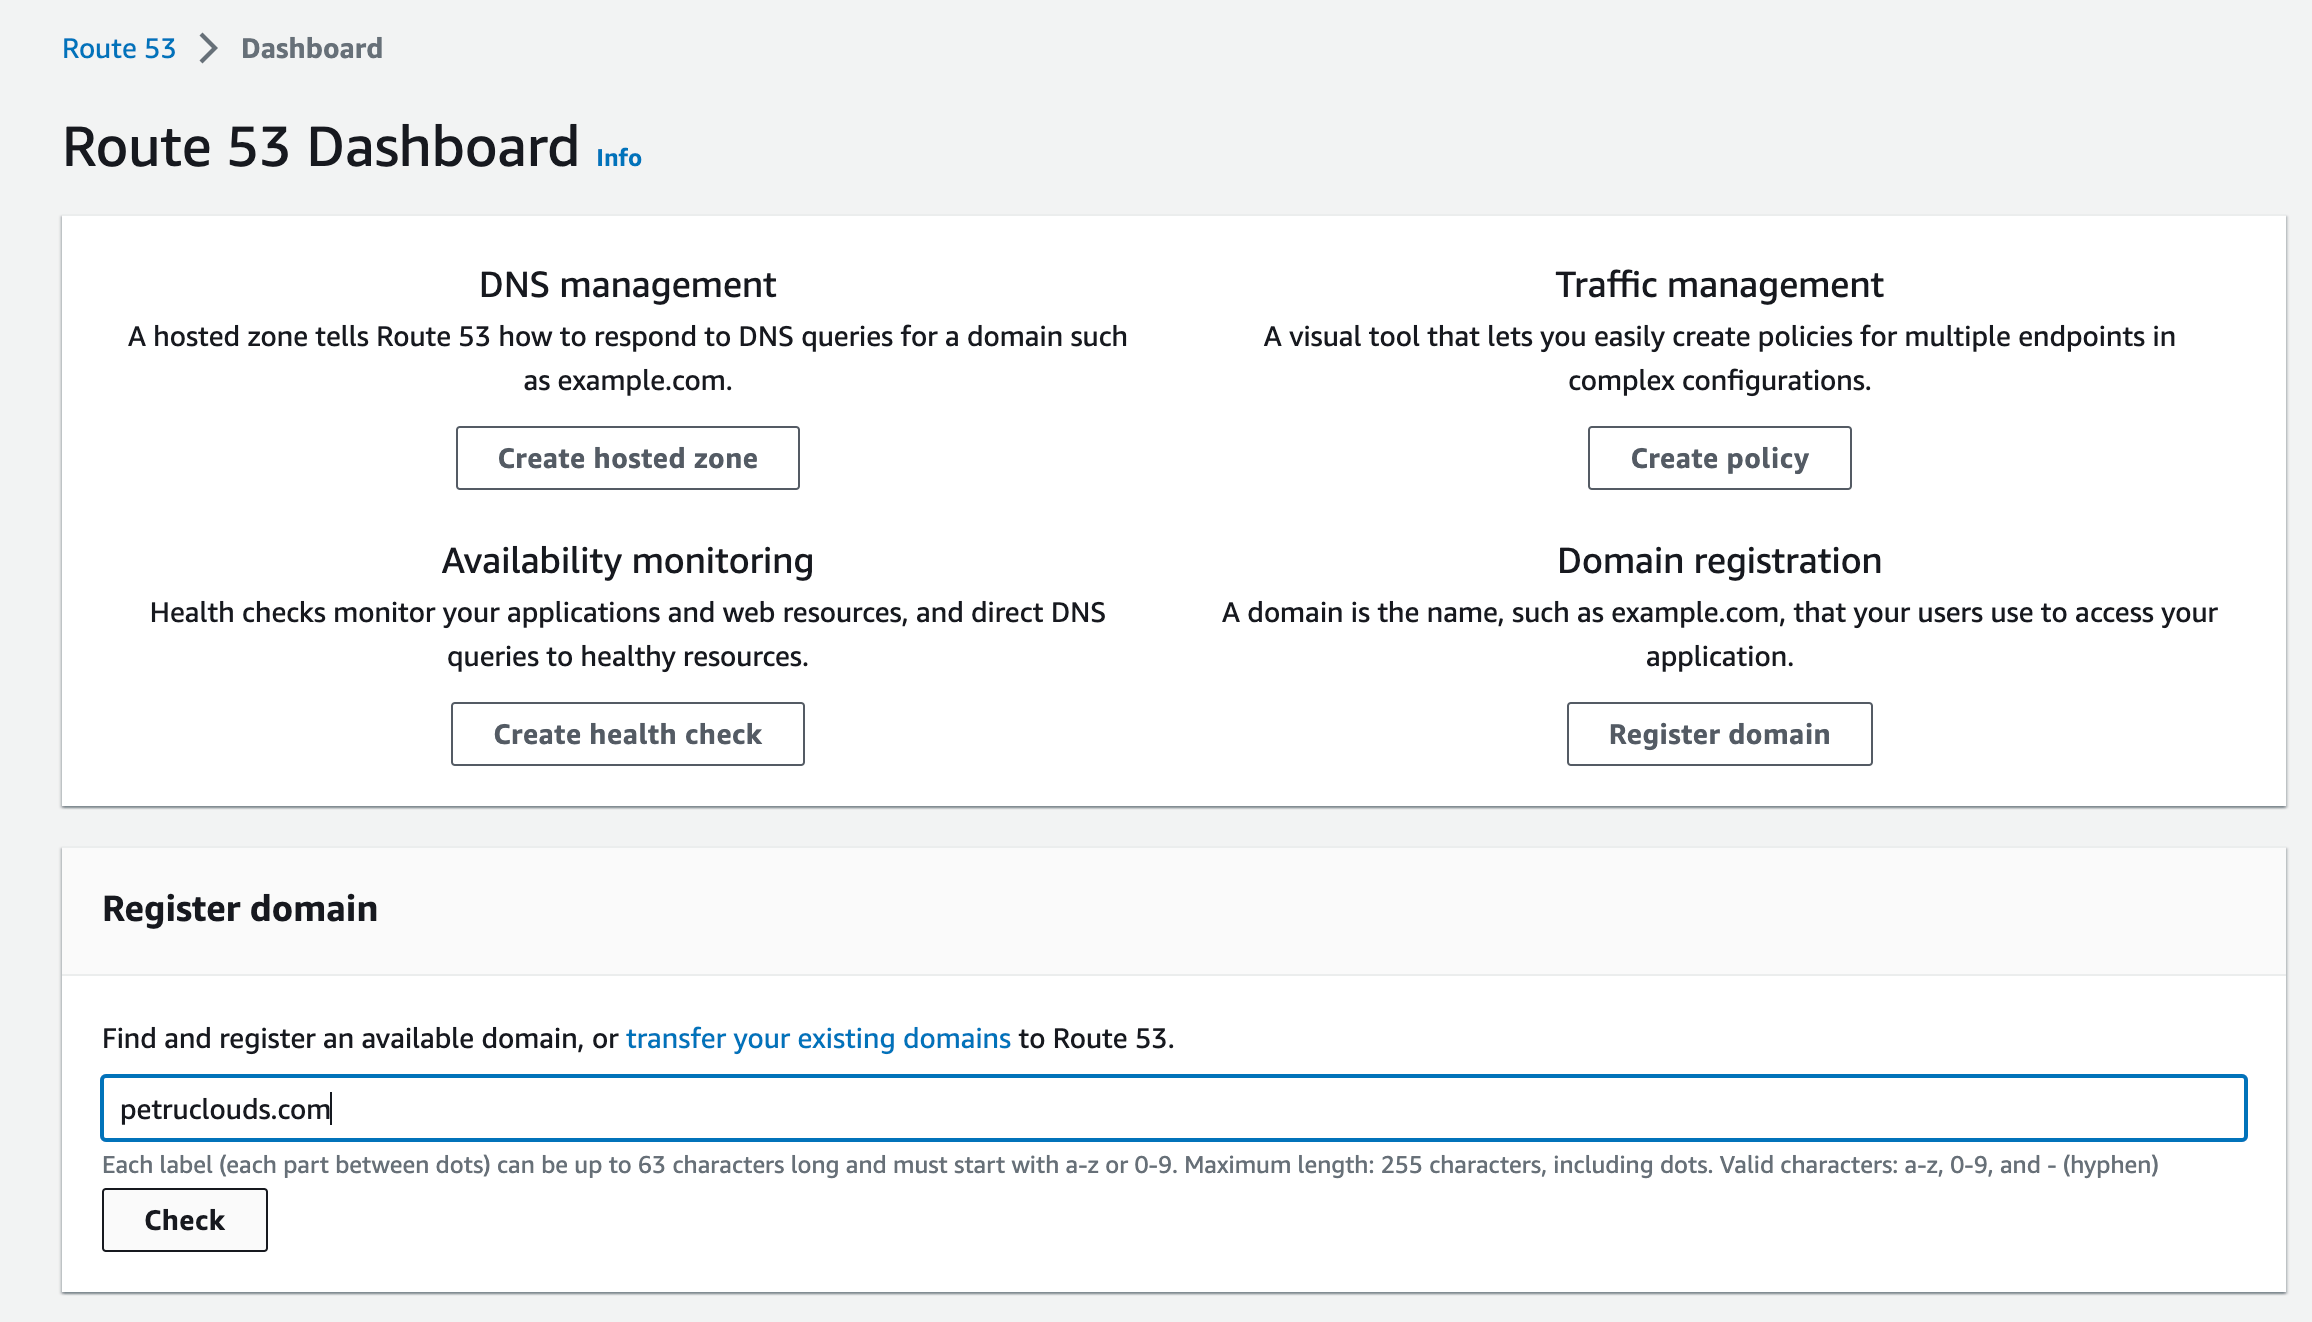
5. Search for Your Domain: Enter your desired domain name (e.g., www.yourwebsite.com) into the search bar, and Route 53 will check its availability.
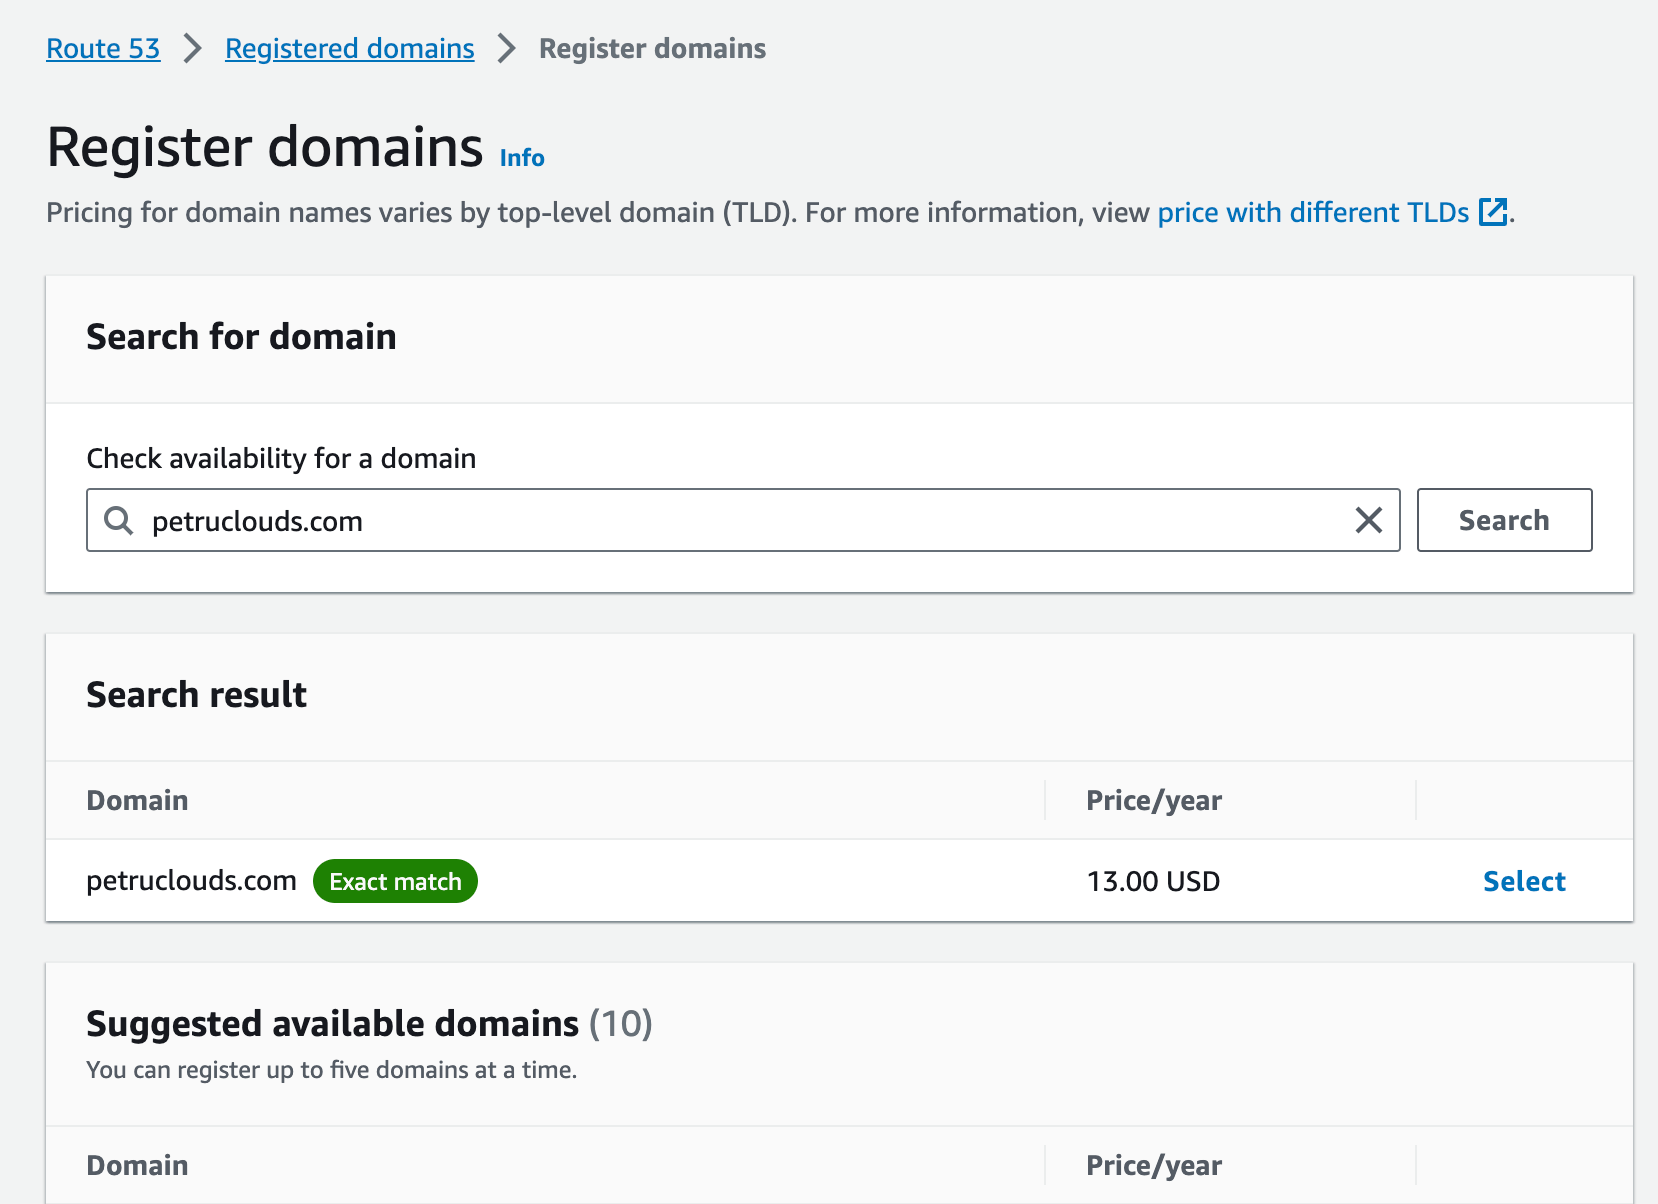
6. Select and Add to Cart: If your chosen domain is available, select it and add it to your cart. Follow the on-screen prompts to complete the purchase, including providing your contact information and configuring domain settings like DNS records and privacy protection.
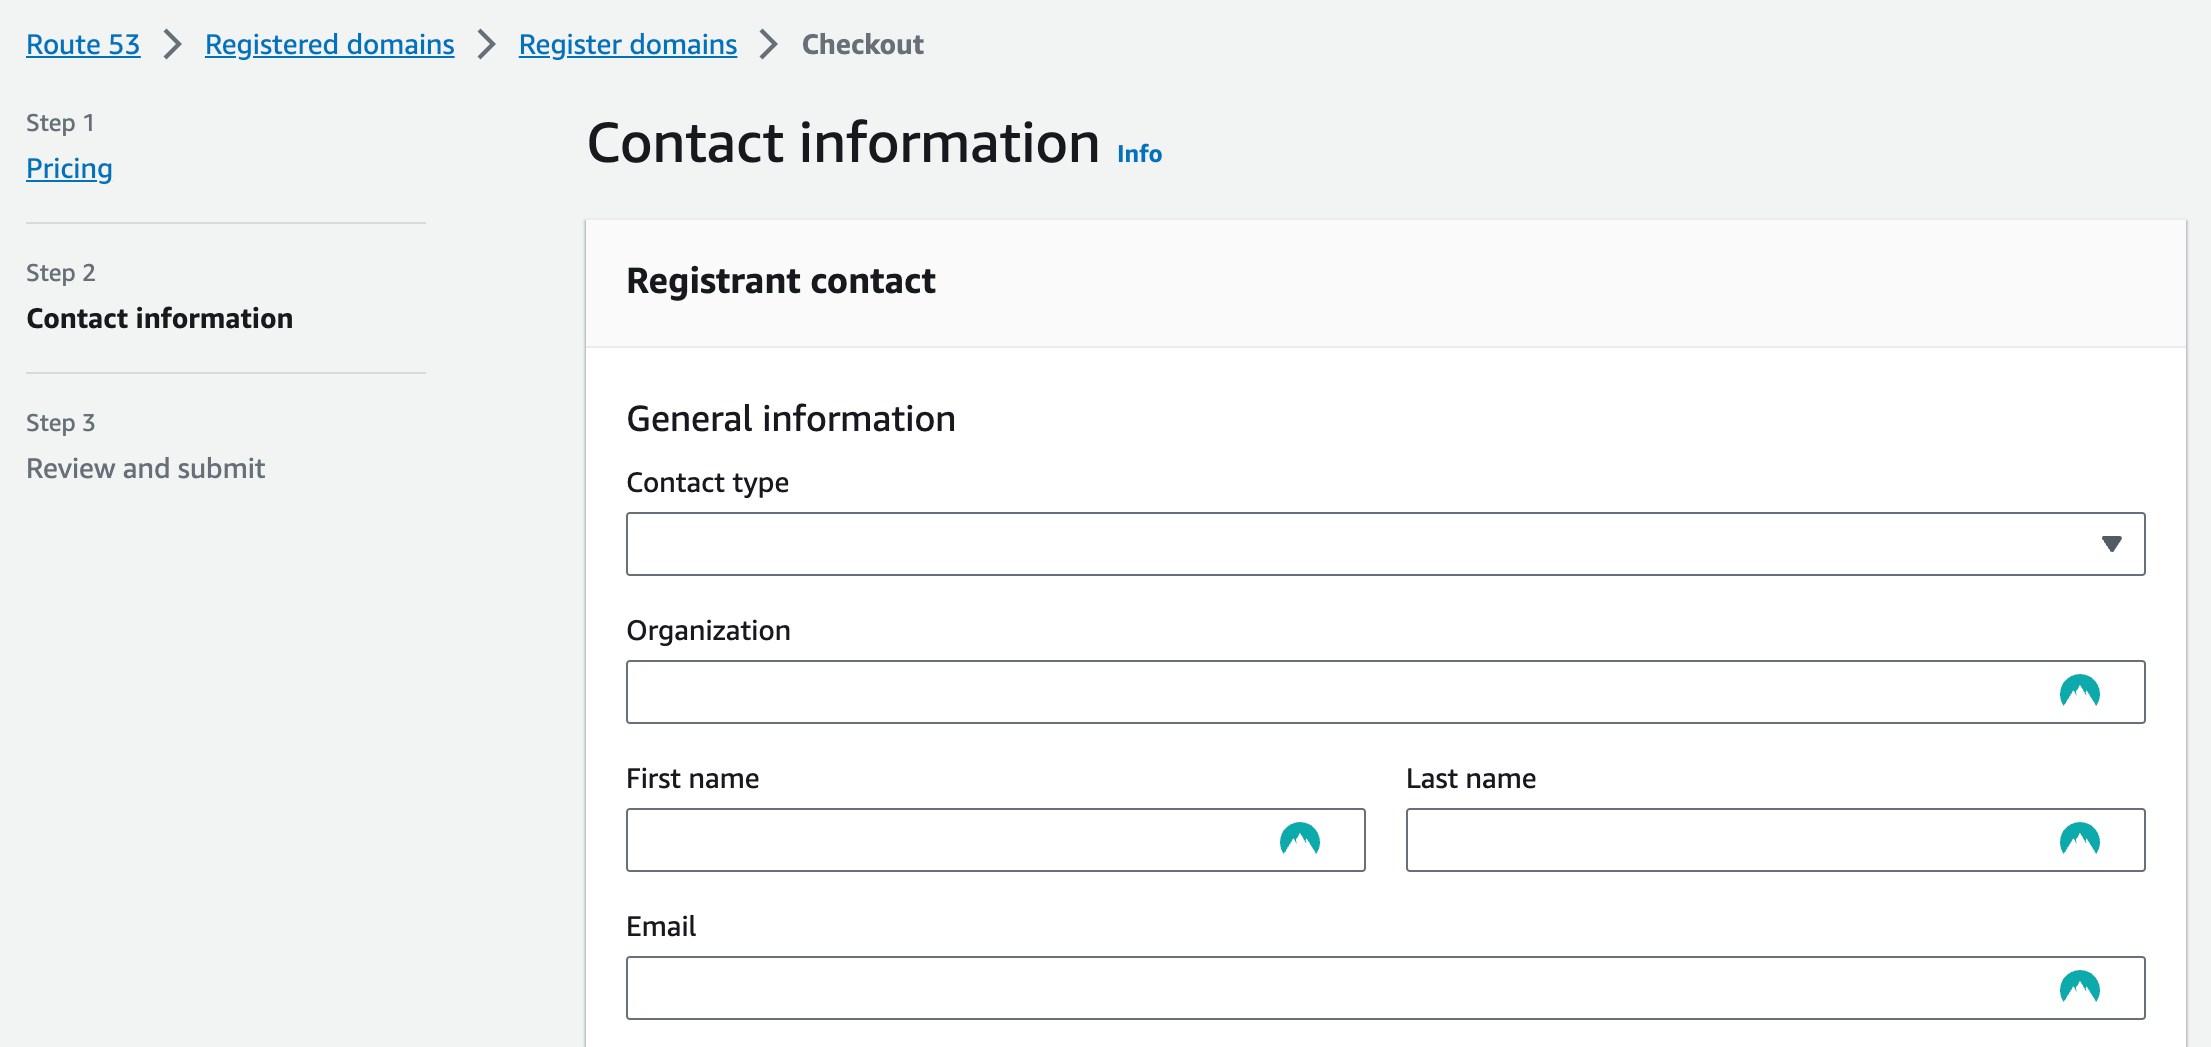
7. Verify Ownership: After purchasing the domain, you must verify ownership by responding to an email or text message. This is a security measure to ensure you have control over the domain.
B. Create a Lightsail DNS Zone:
1. Return to Lightsail: Go back to your Lightsail console by clicking on “Services” in the AWS Management Console and selecting “Lightsail.”
2. Choose Your WordPress Instance: Locate and select the WordPress instance you previously set up.
3. Go to the Networking Tab: In the instance details, navigate to the “Networking” tab.

4. Create a DNS Zone: Within the “Networking” tab, you’ll have the option to “Create DNS zone.” Click on this option.

5. Configure the DNS Zone: Follow the prompts to configure your DNS zone. This typically involves naming the zone and associating it with your WordPress instance.
C. Map a Domain to Your WordPress Instance:
1. In the Lightsail DNS Zone: After creating the DNS zone, you’ll see options to add records. Here, you can map your domain to your WordPress instance.
2. Add a DNS Record: Select “Add record” and choose the record type that corresponds to your WordPress instance’s IP address (usually an “A” record). Enter the IP address and the domain name you want to map (e.g., www.yourwebsite.com).
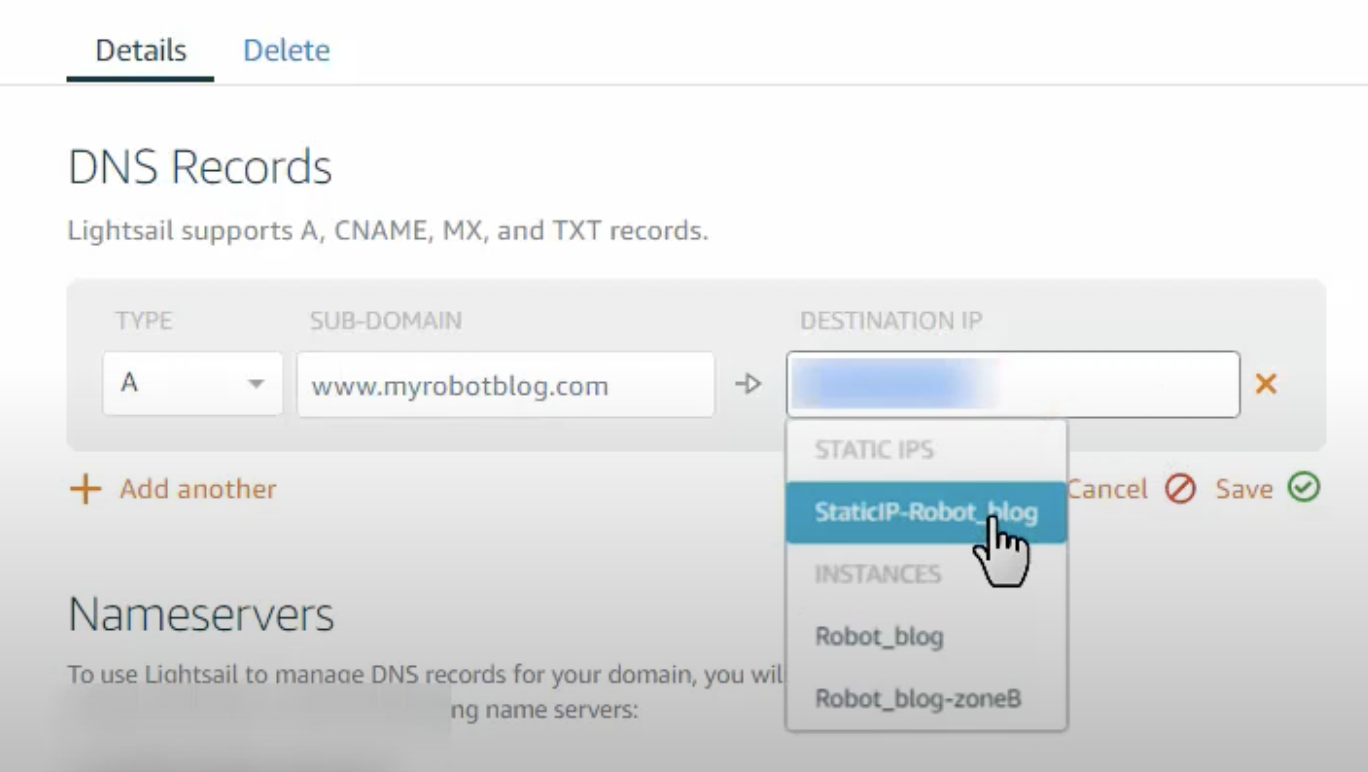
3. Save the Changes: After adding the DNS record, save your changes.
4. Propagation Time: Remember that DNS changes may take some time to propagate throughout the internet. It can vary from minutes to a few hours, depending on various factors.
Congratulations! You’ve now successfully purchased a domain with Route 53, created a Lightsail DNS zone, and mapped your domain to your WordPress instance. Your website should now be accessible via the domain name you’ve chosen (e.g., www.yourwebsite.com).
Step 7: Create a snapshot or enable automatic snapshot for instances or disks in Amazon Lightsail
1. Return to Lightsail: Return to your Lightsail console by clicking “Services” in the AWS Management Console and selecting “Lightsail.”
2. Choose Your WordPress Instance: Locate and select the WordPress instance you previously set up.
3. Go to the Snapshots Tab: In the instance details, navigate to the “Snapshots” tab.

4. Create a Snapshot: You can choose between manual or automatic snapshots.
I have to thank you for the efforts you’ve put in penning this site.
I really hope to check out the same high-grade content from you in the future
as well. In fact, your creative writing abilities
has inspired me to get my own, personal blog now 😉